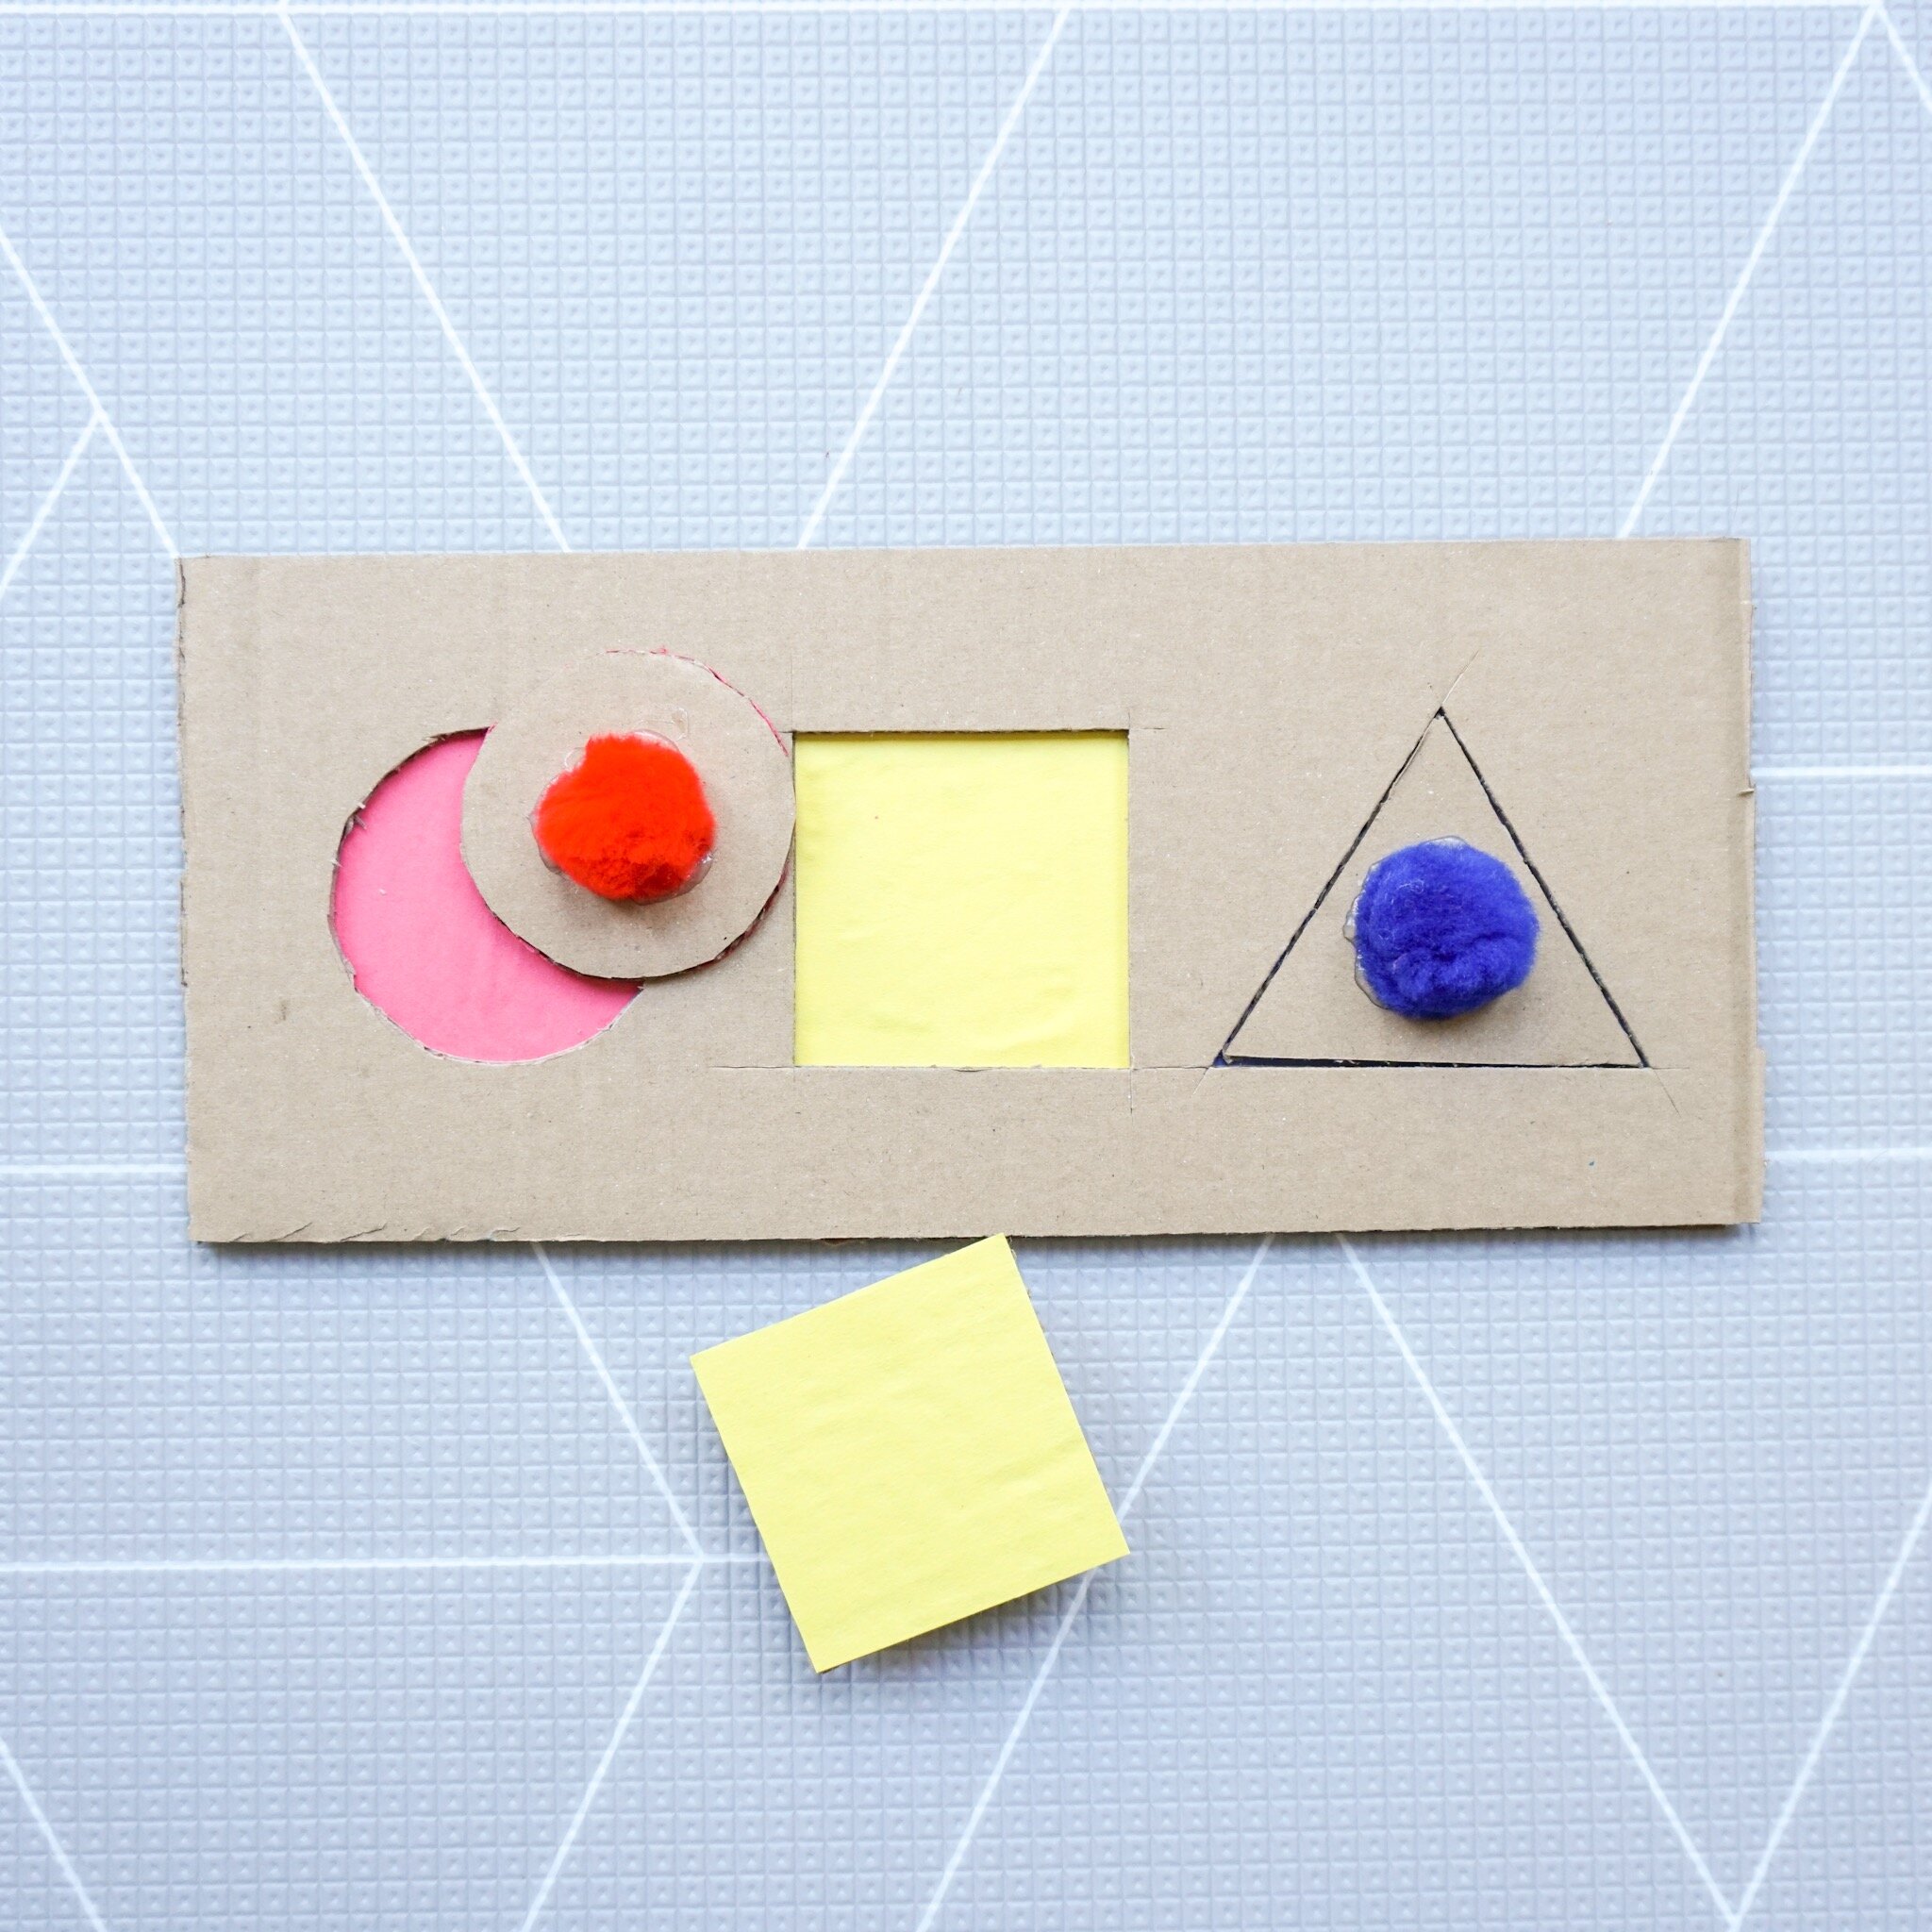
DIY Shape Sorting Puzzle
🧩 DIY Shape Sorting Puzzle 🧩 Create this easy do-it-yourself puzzle for baby with cardboard, hot glue, and pom poms. I also used construction paper to line the puzzle pieces for more color matching practice. 🔹🔻 This is a great way to for baby to practice her pincer grasp starting around 6 to 8 months and up. 👌🏼 Older babies and toddlers may be able to correctly place and sort the pieces!
Cut two pieces of cardboard down to the same size, roughly 8” x 14”. On one of the pieces, draw a circle, triangle, and square with a marker or pencil. It is okay if they aren’t perfect, but the more symmetrical they are the better. To make the circle, find a lid or something else circular to trace, and draw the other shapes with a ruler. Cut the shapes out with a box cutter, leaving them intact. Cut down around the edges of the pieces so they are slightly smaller and fit easily into the holes you have made, without having to line up perfectly.
If desired, trace the pieces onto construction paper, then cut the paper and glue it to the back of the puzzle pieces using white glue, like Elmer’s. ✂️ Cut a square of each color of construction paper and glue them down to the other piece of cardboard, so that the color shows through the holes when the cardboard pieces line up.
Hot glue a pom pom or large wooden bead to the top of the each puzzle piece. Hot glue the large cardboard pieces together. The puzzle pieces should fit into the cutouts. Help baby learn to pick the puzzle pieces up by the pom poms and place them in the cutouts. You can make many variations on this as well! The circle will be the easiest shape for baby to begin with.


